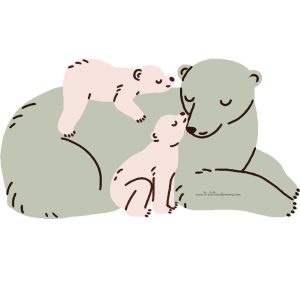
Polar Bear Family Activity Pack

February 27th is International Polar Bear Day so to celebrate them I’ve created some fun activity sheets! To promote team work, these pages are meant to be done as a family but can be used as a homeschool resource instead for 1st, 2nd, or 3rd graders.
How to incorporate the Polar Bear Activity Pack into Homeschool
There have been countless times where I want to change the lesson plan to something that has to do with the current holiday or trend or even just the current weather, but as soon as I have to write down how it works as homeschool I’m slapped in the face with writer’s block. I don’t want that to happen to you! So, I’ve already come up with simple explanations that you can copy/paste below.
English Language Arts
the student learned about polar bear habitats, behaviors, and adaptations through reading informational texts.
History
student gained an understanding of the historical and cultural significance polar bears have to indigenous peoples in the Arctic region.
Math
the student explored how climate change impacts polar bear food sources and how that affects the ecosystem, connecting mathematics to real-world phenomena.
Science
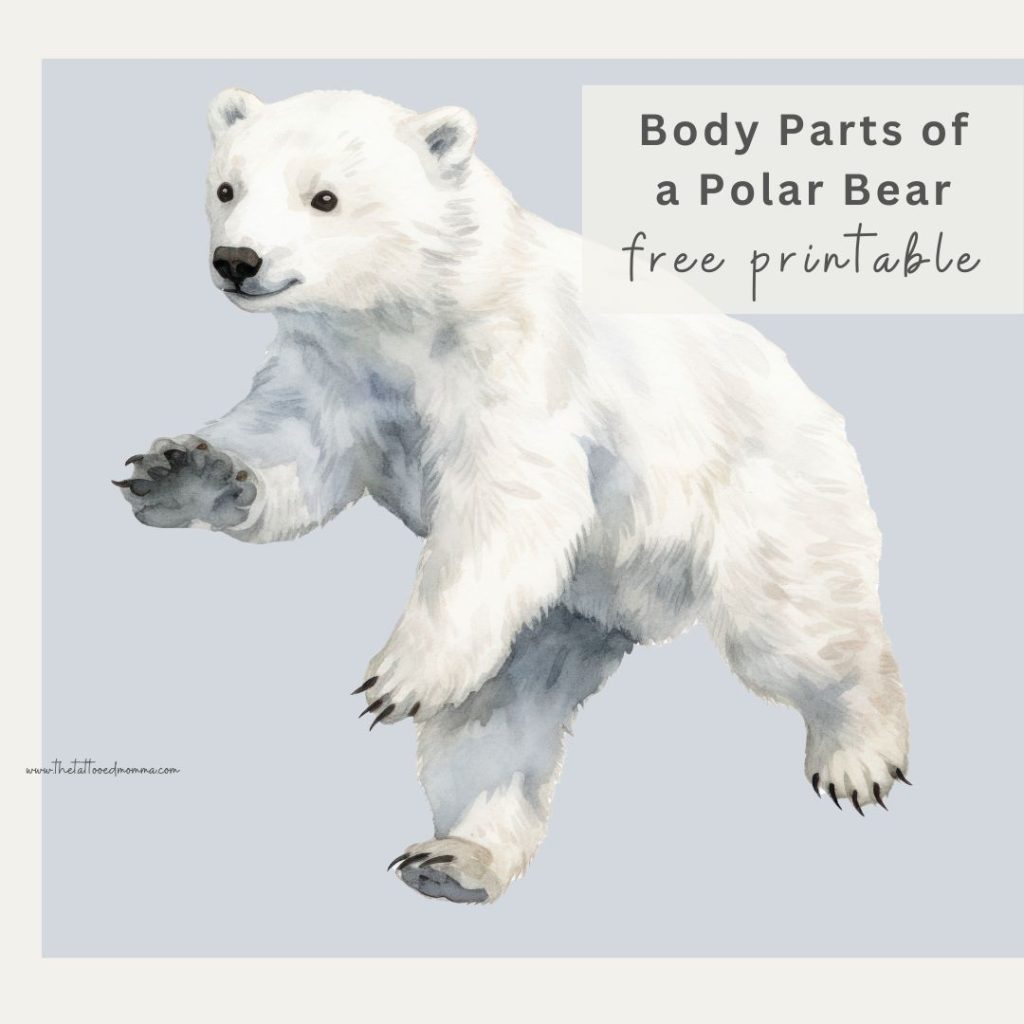
they learned about polar bear anatomy.
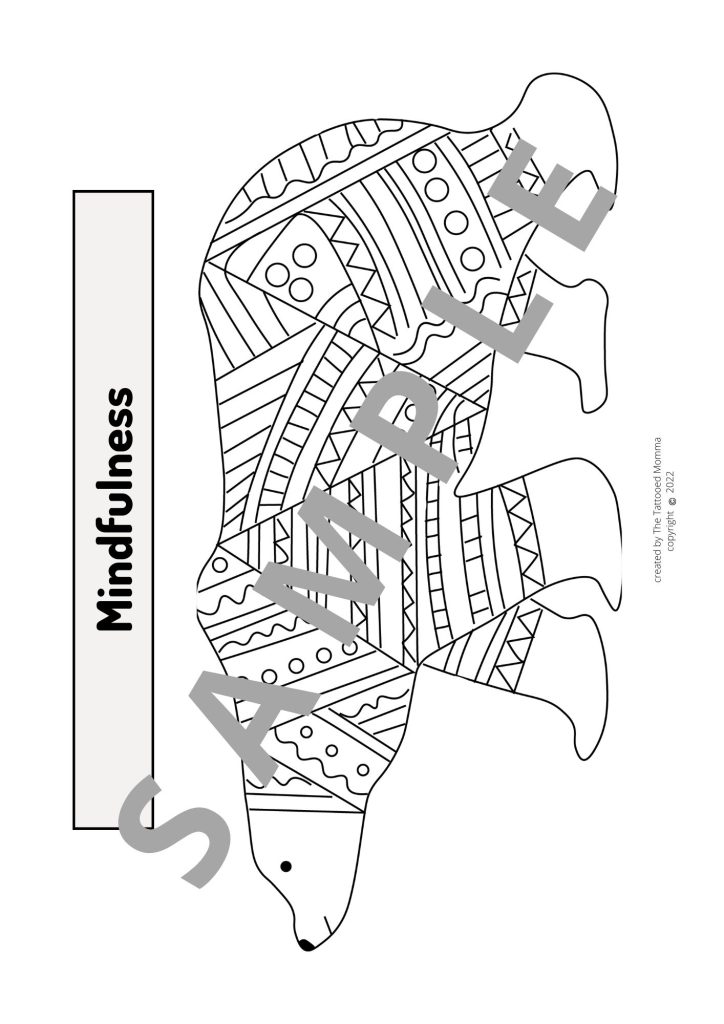
Why You’ll Love These Polar Bear Worksheets
Family Friendly – I’ve created these worksheets with multiple ages in mind. As a homeschool mom of 4 kiddos, I am aware that if one kid is doing something, there will be another asking why he doesn’t get to do it too.
Fun to do – The goal for homeschooling our babiesis to keep everything as fun as possible and to nurture their love and curiosity to learn. Your kid(s) and you will love the cool facts and fun worksheets included in this pack.
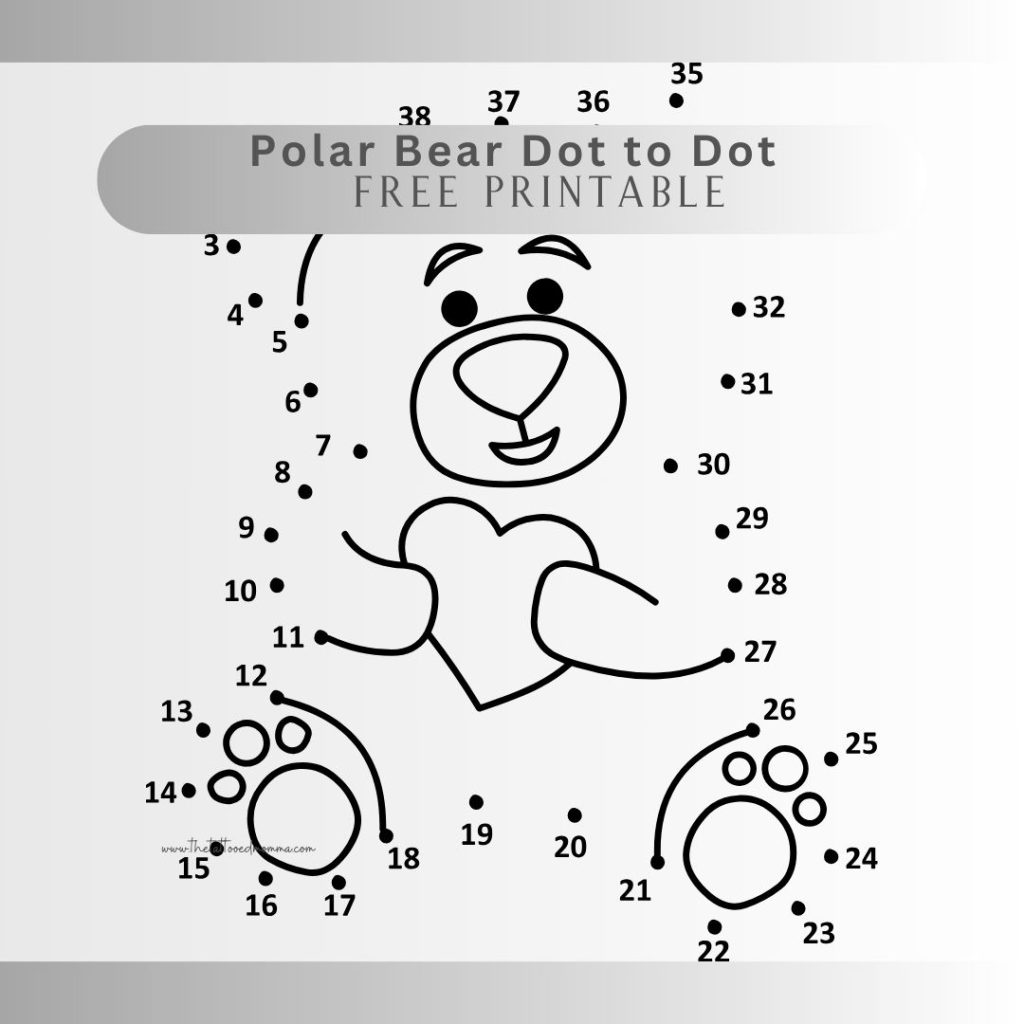
Make it Your Own – You’ll appreciate that these worksheets can be adapted to fit most ages. If your child is learning their colors then you can have them color all the dots green or if you guys are working on skip counting, have them do the dot-to-dot in multiples of 5 or 6 or whatever you want! Maybe your child wants to learn a different language, have them fill in the Polar Bear Body Parts Worksheet with another language.
Tips
- I like to print off the whole pack then pass out 1 – 2 worksheets to each child that I think would suit their learning abilities.
- If more than 1 child wants to do the same worksheet then I just make a copy.
- Want more printables?! Check out this fun President’s Day Worksheet
- Watch this Youtube Short to get a glimpse of how we do homeschool.
This post contains affiliate links, which means I make a small commission at no extra cost to you but I only recommend products that I actually use and love. Read the full disclosure here.

Polar Bear Fun Facts
- their skin is actually black, not white. Their fur is translucent so it appears white because it reflects visible light.
- the polar bears scientific name means “sea bear”
- they can be found living in 5 different countries: United States (Alaska), Canada, Russia, Greenland, and Norway
- these guys can swim for days in open water without rest and can swim up to 6 miles per hour.
- polar bears are classified as marine mammals and are the only bear species to be considered marine mammals.
- male polar bears can weigh as much as 10 men. They are also twice the size of females.
- they have a very strong sense of smell, which they use to find seal breathing-holes in the ice. Once the polar bear has found the hole, the bear will wait patiently until the seal comes up for air then attack. They can even detect a seal in the water beneath a meter (about 3 feet) of compacted snow.
- Polar Bear mommas give live birth to 1 – 3 cubs per litter.
Scroll down for your free Polar Bear Activity Pack


Let’s Connect!
Items You May Need!
- paper
- pencils
- erasable pens
- colored pencils
- printer ink
- printer
- laminator
- laminating sheets
- composition book
- pencil pouch
- pencil sharpener
- pencil holder
- paper clips

FAQ
I filled out the form. Why haven’t I received my worksheets?
check your spam/junk/promotions folders first. Then add ra****@**************ma.com to your email contact list so you always get those goodies. If that doesn’t work, shoot me an email and I will send you the file directly (sometimes I’m running on coffee and essential oils and miss a step, yikes!).
If I join the email list for this lesson, can I still get more free worksheets?
yes! scroll down to get as many different lessons as you want.
How Do You Get the Polar Bear Worksheets!?
- enter your name and email into the form below
- select “Polar Bear Activity Pack”
- click the send-them-my-way button
- check your email and click “download”
- (optional) come back and leave a review to let me know what you liked or disliked or make a request for a topic you’d like to see a lesson plan made for.
enter your name & email to get your free download
Find more printable homeschool worksheets


If you try these worksheets and love them, I would love if you gave it 5 stars! Also, tag me on Instagram @thetattooedmommaofficial.
Recommended
- How to Love Being JUST a Stay at Home Mom
- ULTIMATE Dirt Bike Gear Checklist – FREE printable
- How to Make Homemade easy non-toxic Beeswax Candles
- Easy Homemade Avocado Oil Mayonnaise Recipe
- How I Got Pregnant with PCOS 5x
Search Bar: polarbear, polar bear, polarbears, pilar bear, pilarbears, polr brs