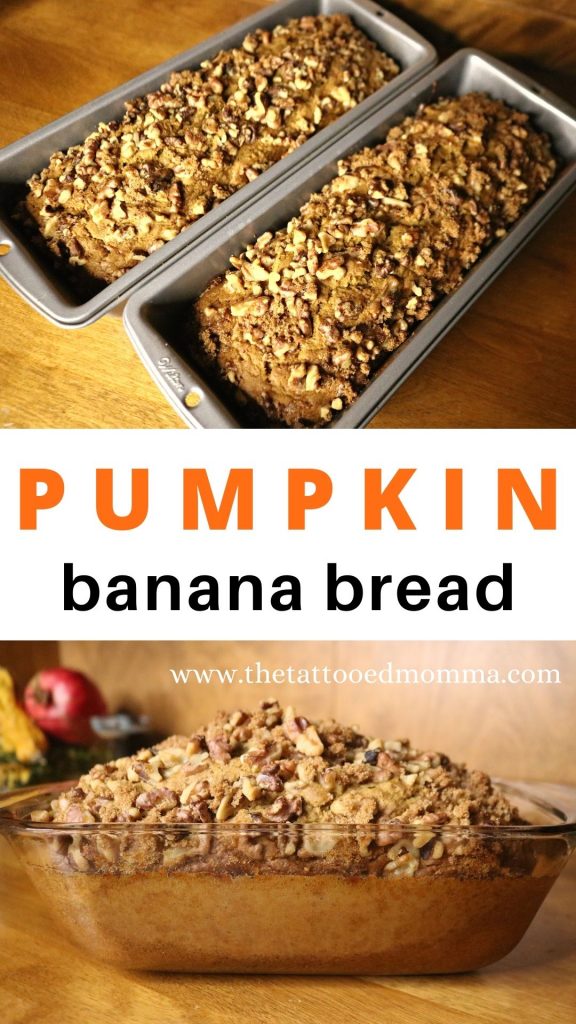
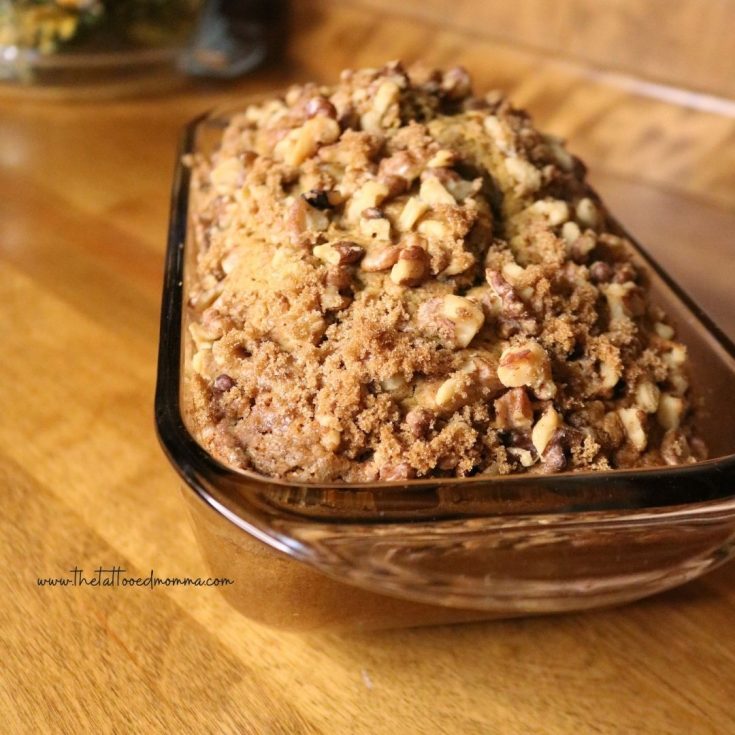
Quick Pumpkin Banana Bread with Sourdough Starter
A pumpkin twist on the classic banana bread – and just in time for Halloween! Great for sourdough discard but Long Fermented version included too.
All my kids are OBSESSED with banana bread – thanks to my husband showing them the viral banana bread at work video.
But Even though they never get tired of eating the same old recipe, I really do get tired of making it so I’m constantly looking for new ways to spice it up.
I am happy to say that this pumpkin version is my family’s new ABSOLUTE FAVORITE way to eat sourdough banana bread and it is so good, I’ve already made it 3 times this week!

Pumpkins have been the inspiration to all my cooking lately for a couple reasons. Most obvious, it’s pumpkin season.
But the biggest reason is we’re expecting our 4th baby, due on Halloween which has earned him the cute nickname of “Pumpkin Baby“. So I’m a little bit obsessed with all things pumpkin at the moment.
Even my kids asked me the other day “why does all our food have pumpkin in it?” – whoops!

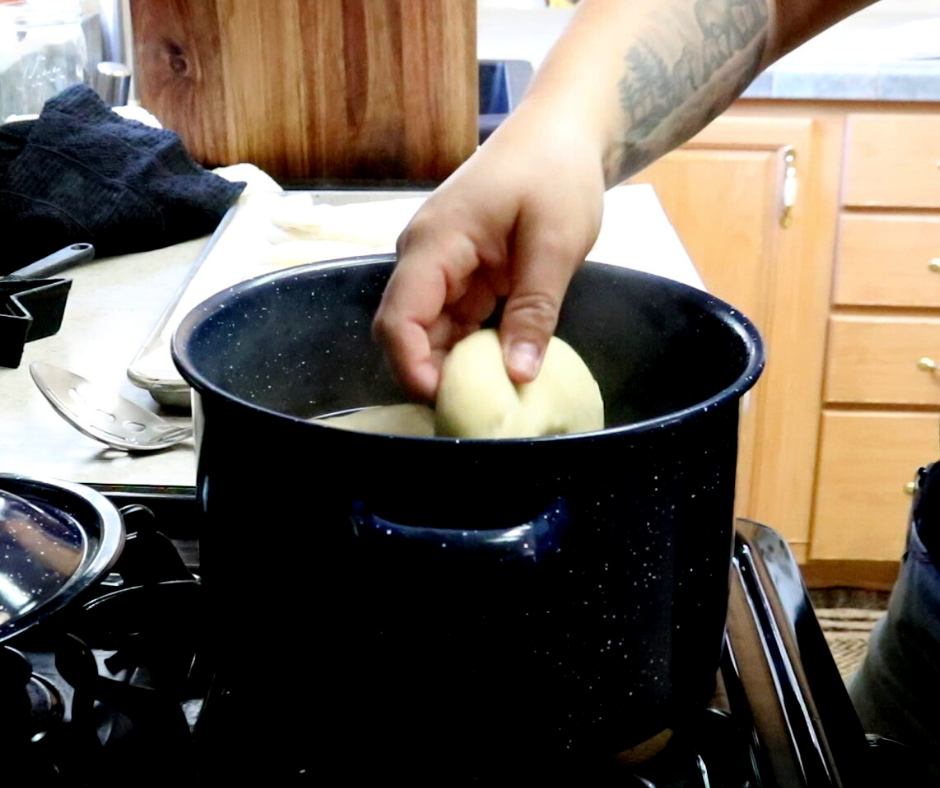
WHAT IS SOURDOUGH STARTER?
Sourdough starter is just flour and water mixed together then left to ferment. After it has become “mature” enough, it has the ability to make dough rise. In laments terms: sourdough starter = YEAST PACKETS.
IS SOURDOUGH STARTER BETTER THAN USING YEAST PACKETS?
This depends on what’s more important to you. Faster rising time or healthier bread?
If you use yeast packets, the time it takes to get your breads to rise is shorter. But when you use sourdough starter in your dough, it breaks down the phytates in the grains making it easier for your body to absorb as much of the nutrients in grains as possible. Here’s a link to a great article all about it.
DO I NEED A STARTER TO MAKE THIS PUMPKIN BANANA BREAD?
NOPE! In fact, you don’t even need yeast packets. I just like any excuse to use sourdough starter so I incorporate it when I can. The conversion without the starter will be in the recipe section for you. 🙂

scroll to bottom for printable recipe
PUMPKIN BANANA BREAD (QUICK VERSION)
Preheat oven to 325 degrees.
Combine all the dry ingredients in a bowl and all the wet ingredients in a separate bowl then mix them all together.
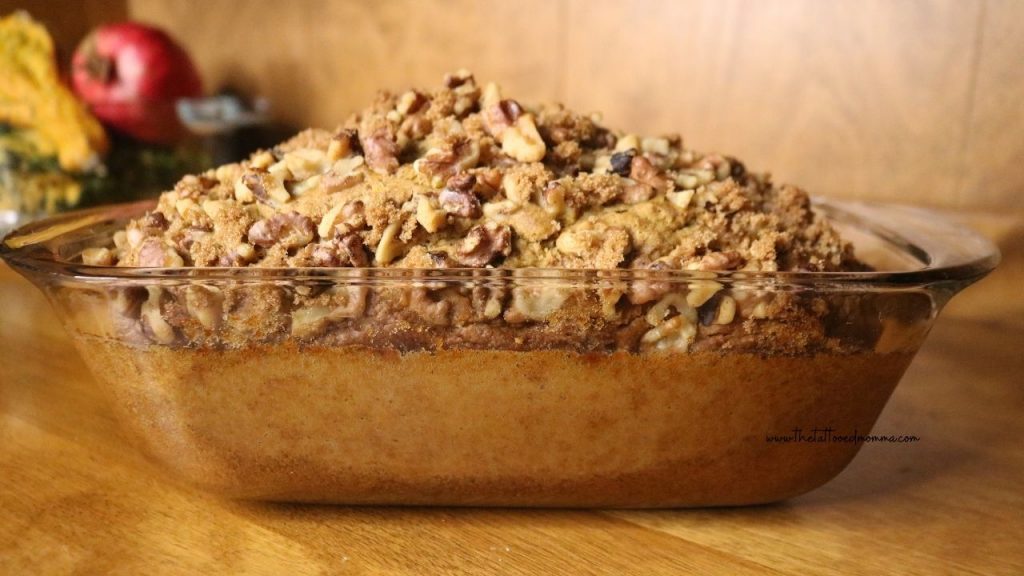
Pour mixture into a bread loaf pan and sprinkle walnuts & brown sugar on top. Then place into preheated oven for 90 minutes. Check on it after 70 minutes by inserting a toothpick into the center of the loaf. If the toothpick comes out clean, its ready! If not, continue cooking 10 minutes at a time until done.
Let it sit in the loaf pan for 1 hour to cool before slicing into it.
INGREDIENTS
DRY INGREDIENTS
- 2 and 1/2 cup All Purpose Flour
- 1 tsp Baking Soda
- 1 tsp Baking Powder
- 1/4 tsp Salt
- 1 tbsp Cinnamon
- 1 and 1/2 tsp pumpkin spice
- 1/4 cup packed Brown Sugar (in and some more sprinkled on top)
- Optional: 1/4 cup walnuts (in and some more sprinkled on top)
WET INGREDIENTS
- 1 very Ripe Banana (about 1/2 cup)
- 1/2 cup Pumpkin Puree
- 2 Eggs
- 1/2 cup Maple Syrup (or honey)
- 1/2 cup Butter
- 1/4 cup Banana Milk (any milk will do for this. almond, whole, 1%, oat, etc)
- 1/2 tsp Vanilla Extract
- 1/4 tsp Almond Extract
- Optional: 1/2 cup sourdough starter (or 1 tspn yeast mixed with 1/2 cup warm water)

For funny reels and daily extras, follow me on instagram
PUMPKIN BANANA BREAD (LONG FERMENTED VERSION)
THE NIGHT BEFORE
Combine sourdough starter, flour, cinnamon, maple syrup, butter, and milk together in a large bowl. Cover and let it sit overnight or 8-10 hours.
THE NEXT DAY
Add the remaining ingredients
Preheat oven to 325 degrees.
Pour mixture into a bread loaf pan and sprinkle walnuts & brown sugar on top. Then place into preheated oven for 90 minutes. Check on it after 70 minutes by inserting a toothpick into the center of the loaf. If the toothpick comes out clean, its ready! If not, continue cooking 10 minutes at a time until done.
Let it sit in the loaf pan for 1 hour to cool before slicing into it.
DRY INGREDIENTS
- 2 and 1/2 cup All Purpose Flour
- 1 tsp Baking Soda
- 1 tsp Baking Powder
- 1/4 tsp Salt
- 1 tbsp Cinnamon
- 1 and 1/2 tsp pumpkin spice
- 1/4 cup packed Brown Sugar (in and some more sprinkled on top)
- Optional: 1/4 cup walnuts (in and some more sprinkled on top)
WET INGREDIENTS
- 1 very Ripe Banana (about 1/2 cup)
- 1/2 cup Pumpkin Puree
- 2 Eggs
- 1/2 cup Maple Syrup (or honey)
- 1/2 cup Butter
- 1/4 cup Banana Milk (any milk will do for this. almond, whole, 1%, oat, etc)
- 1/2 tsp Vanilla Extract
- optional: 1/4 tsp Almond Extract
- optional: 1/2 cup sourdough starter (or 1 tspn yeast mixed with 1/2 cup warm water)
YOU’LL ALSO LOVE
Turning A Closet into a Baby Nursery
Sourdough Pumpkin Banana Bread
A pumpkin twist on the classic banana bread. Great for sourdough discard but Long Fermented version included too.
Ingredients
- DRY INGREDIENTS
- • 2 & 1/2 cups all purpose flour
- • 1 tsp baking soda
- • 1 tsp baking powder
- • 1/4 tsp salt
- • 1 tbsp cinnamon
- • 1 and 1/2 tspn pumpkin spice
- • 1/4 cup packed brown sugar
- • optional: walnuts (just on top)
- WET INGREDIENTS
- • 1 very ripe banana (about 1/2 cup)
- • 1/2 cup pumpkin puree
- • 2 eggs
- • 1/2 cup maple syrup (or honey)
- • 1/2 cup butter
- • 1/4 cup banana milk (any milk will do for this. almond, whole, 1% oat, etc)
- • 1 tsp vanilla extract
- • optional: 1/4 tsp almond extract
- • optional: 1/2 cup sourdough starter (or 1 tspn yeast mixed with 1/2 cup warm water)
Instructions
(for LONG FERMENTED VERSION SEE NOTES SECTION)
Preheat oven to 325°
Combine all the dry ingredients into a bowl. In a separate bowl combine all the wet ingredients. Now combine wet and dry ingredients.
Pour mixture into a bread loaf pan then sprinkle walnuts and more brown sugar on top.
Place bread loaf pan into preheated oven for 90 minutes. Check on it after 70 minutes by inserting a toothpick into the center of the loaf. If the toothpick comes out clean then it's ready! If not, continue cooking 10 minutes at a time until done.
Let it rest in the loaf pan on your counter top for 1 hour to cool before slicing into it.
Notes
LONG FERMENTED VERSION
THE NIGHT BEFORE
Combine sourdough starter, flour, cinnamon, maple syrup, butter, and milk together in a large bowl. Cover and let sit overnight (8 to 12 hours)
THE NEXT DAY
Add the remaining ingredients.
Preheat oven to 325°
Combine all the dry ingredients into a bowl. In a separate bowl combine all the wet ingredients. Now combine wet and dry ingredients.
Pour mixture into a bread loaf pan then sprinkle walnuts and more brown sugar on top.
Place bread loaf pan into preheated oven for 90 minutes. Check on it after 70 minutes by inserting a toothpick into the center of the loaf. If the toothpick comes out clean then it's ready! If not, continue cooking 10 minutes at a time until done.
Let it rest in the loaf pan on your counter top for 1 hour to cool before slicing into it.