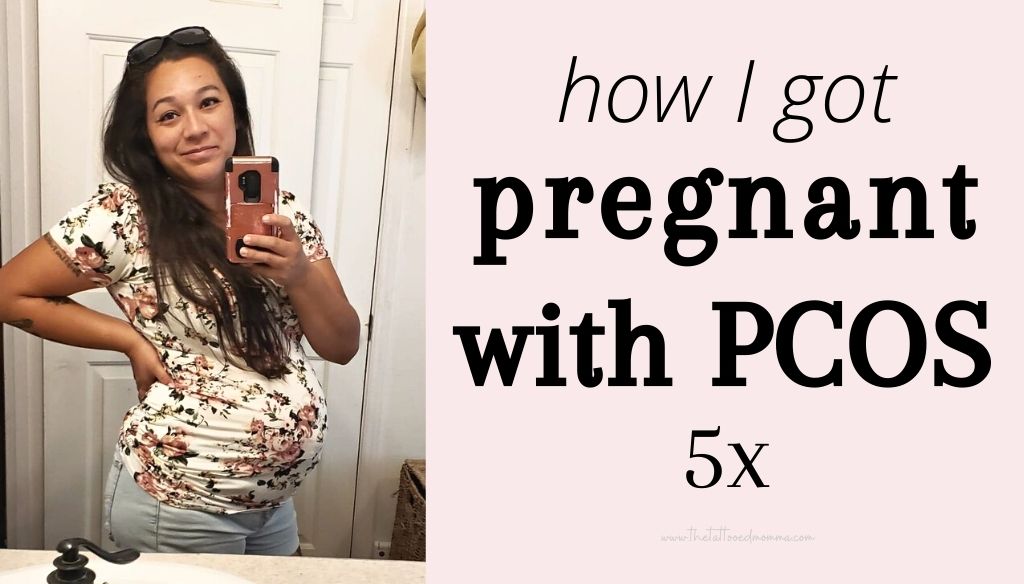
How I Got Pregnant with PCOS 5x
When I was 17 my doctor told me “You should probably start accepting that you won’t be able to have babies”. Fast forward to present day and I’m here to tell you, she was wrong & here’s how I fixed it then became pregnant with PCOS.
At 17 years old, I went in for a normal athletic physical but by the end of that appointment I had been diagnosed with a hormone imbalance and told “I don’t know what your plans for the future are but you should start accepting that you most likely won’t be able to have babies”.
When hearing the doctor’s words I felt my chest sink down into my stomach and felt the space around me moving slower. I can still remember so many details on my doctor’s face: she had short brown hair, brown eyes, a powdered face, a little mascara, and thin lips. Then my eyes moved from her lips to her forehead because I couldn’t even make eye contact with her after those words.
How could I not have any babies? My entire life my plan was to have a big family with at least 8 kids. Now this person is saying I can’t? Then she asked me a question, I just don’t remember what it was but that snapped me out of feeling sorry for myself and started to ask a million questions.
My brain was jumping from things like, “what do you mean?, What if I don’t want to accept it, are there alternatives? Do I still produce eggs? What is a hormone imbalance?”

This post contains affiliate links, which means I make a small commission at no extra cost to you but I only recommend products that I actually use and love. Read the full disclosure here.
WHAT IS A HORMONE IMBALANCE?
My biggest concern was the term hormone imbalance because the way my doctor explained it didn’t make it any better. She said I had higher amounts of testosterone so naturally my eyes bugged out but she could clearly guess what my facial expressions were saying because she immediately said “it doesn’t mean you’re a man! Everyone has testosterone and estrogen. You’re body just isn’t producing the right amounts”.
So I’m thinking…
HOW DO I MAKE MY BODY PRODUCE THE RIGHT HORMONE AMOUNTS?
Mind you, this was 13 years ago and the whole PCOS term really didn’t even exist. In fact, it’s still pretty new even today so there aren’t a whole lot of experts out there on the subject. I didn’t even realize my hormone imbalance was in fact PCOS until I was pregnant with my 3rd child (but more on that later).
Long story short I was prescribed birth control to regulate my cycle which was going to be the cure-all for what was going on. I didn’t just have extremely irregular periods (about 1 every 8 months), I had hair in places it shouldn’t be, trouble falling asleep, and had the hardest time losing weight even though I was always working out at school and outside of school.
Before I left my doctor told me to stay on birth control then come back when I want to have a baby only if I was having trouble for more than 2 years after being off of it.
Fast forward to present day and I’m here to tell you, the doctor was wrong and here’s how I got pregnant with PCOS

How to Get Pregnant with PCOS + my symptoms
PCOS IS REVERSABLE
The first bit of good news is that PCOS is completely reversible – YES, I said reversible. The key is to find out what your root cause is so you too can become pregnant with PCOS. I found mine with the help of The PCOS Nutritionist. You can join her PCOS protocol group or get all the information for free by listening to her podcast.
PCOS isn’t necessarily a bad thing either, in fact, it’s actually a survival instinct where your baby-making switch turns off because your body is like “WHOA – Something isn’t right here guys. This is not the right time to have a baby because we are way too stressed and need to fix this first”.
It’s more like a super power 😉
Anyway, for me I noticed every single one of my pregnancies happened once I was under a specific weight but the problem is that it’s very hard for me to lose weight. Then I learned that women with PCOS are usually insulin resistant which means your body has a harder time breaking down sugar so it stores it as fat instead. Then that led to another problem because I also become exhausted when I’ve had too much sugar.
But I couldn’t stop. I had this uncontrollable hankering for sweets. I originally thought it was a family characteristic because the women on my dad’s side of my family all love their sugar but yeeeears later I come to find out the majority of them HAVE A HORMONE IMBALANCE! <mind blown>
Anyway, it became this spiral effect where I would crave sugar, gain weight, then be too sleepy to work out. Which brings me to the next topic …
Choosing an Energy Supplement
Although I made coffee at home, sometimes I needed a mid day pick me up so I would grab a Starbucks coffee when getting off work (it was in the same parking lot anyway) to do the 2-3 hour drive home. But on the days when I’d get Starbucks I was falling asleep and would need to get off the freeway to take a quick nap. spoiler alert – IT WAS ALL THE DAMN SUGAR IN THE COFFEE!
But I didn’t know this yet. All I knew was that I needed something besides coffee because I really thought I had become immune to it’s caffeine.
That’s when I found Optimum Nutrition Amino Energy. It was on sale at my job and since I have high trust in Costco, I figured it would be worth a shot.
Immediately I saw a difference because for the first time, in a long time, I had the energy to get things done.
After a couple weeks I saw the scale going down consistently but I still wasn’t getting a period.
YOU DON’T NEED A PERIOD TO OVULATE
What I mean by this is you don’t need a bleed to get pregnant; your body just needs to ovulate. This is important to note because with my last baby, Forest, I was pregnant in February of 2021 but hadn’t gotten a period since April of 2020.
Anyway, I was losing weight but still kind of grumpy and I could tell because my husband and I were fighting a lot over the dumbest things. I knew they were dumb but I just was snappy about everything.
MOOD SWINGS
Mood swings are also symptoms of PCOS and the PCOS Nutritionist puts a huge emphasis on getting the proper amount of sleep so I played around with my bedtime schedule. What I learned is that I needed 7and ½ hours of sleep each night in order to be pleasant and happy and just overall glad to start the day.
Daily Rhythm / Bed Time Routine
I started doing a daily rhythm so that I knew what needed to be done in the day, afternoon, and night that way by bed time I was able to wind down and not think about all the things I needed to do the next day.
I also started listening to ASMR videos, specifically, Maria from the YouTube channel Gentle Whispering (David still pokes fun at me when I put this on) but it makes me so relaxed.
Now this is going to sound soooooooooo stupid but doing 10 long-deep-slow breaths does wonders. Youre whole body and mind elevates by doing some true deep breathing once a day. Plus doing this signals the brain to be like “oh ok, no-need to fight or flight. If we’re able to take in some big oxygen right now then that means everything is ok and we can relax. We have time to just kick it”.
All of these things helped me get to the weight by body needed to be at for my body to say “ok, it’s time to make a baby. This body is tip top and there isn’t any danger around us so we can comfortably bring a baby into the world right now”.
GETTING PREGNANT WITH PCOS – THE BOOK
I love the way this book is set up because its nice on the eyes and easy to read so it didn’t feel like a daunting task. BUUUT, I ended up not even needing it because when I started reading it, I was already pregnant but didn’t know it.
This is just a great resource to have on hand but you don’t need to purchase the book because she gives all this information for free on her podcast. paper book $30, digital version $10, audible version $13.
But because I am such a fan of her work, I am going to be doing a give-away. 3 lucky winners will be sent a copy of this book *must reside in the United States or Canada* and all you have to do is be subscribed to my Youtube channel, comment this secret emoji 😭😎 (within this post or on youtube channel), then enter your information below to join the raffle. Every time the youtube video hits 10k views I will do a giveaway and the final giveaway will be done at 30k views. So share share share to reach the goal quicker.
OTHER PRODUCTS I WAS USING for getting pregnant with PCOS
Some of the other products I was using when on my pregnancy journey were Pink Stork’s Fertility Bundle which includes fertility tea, some fertility candies, and fertility support vitamins which are basically a mega prenatal with the addition of some popular fertility ingredients like chaste tree berries, ashwagandha, as well as some others.
I can’t say for sure if these helped but I was using them and would definitely use these products again for my next pregnancy endeavor.
Once I became pregnant I switched over to their Total Prenatal vitamins because they have all the daily recommended values for pregnant AND nursing women plus DHA.
Let’s Connect!
Pin It!

- PCOS NUTRITIONIST BOOK
- FERTILITY PACKAGE
- PRENATALS
- AMINO ENERGY
- DIFFUSER for deep breathing
- ESSENTIAL OILS KIT
- ASMR