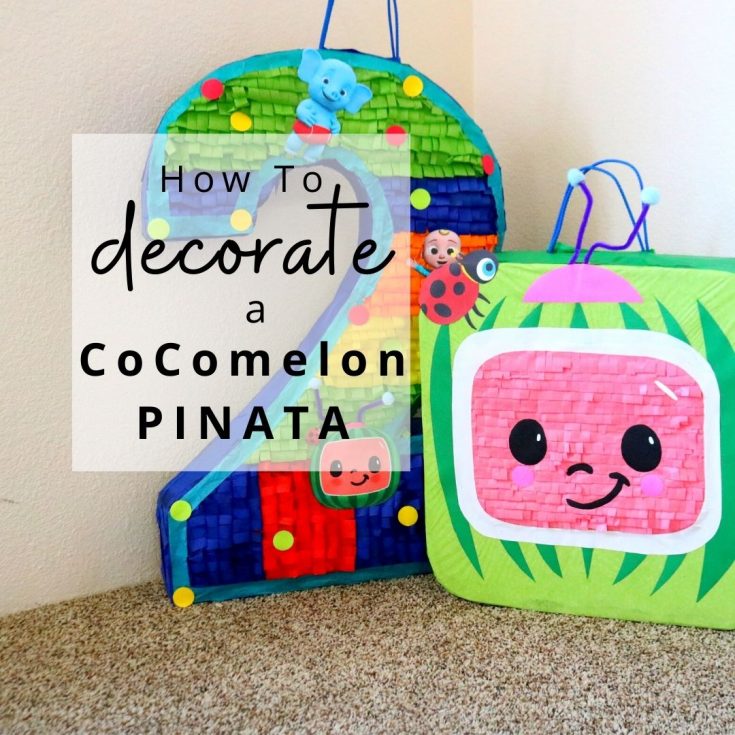
How To Cut the Pinata Candy Hole
Easy and quick guide To Cut the Pinata Candy Hole.

Being Mexican-American, filling the pinata is something I assumed everyone just knew how to do. It’s kind of like a right of passage because once you turn about 10 years old, your job at parties now is to fill the pinata which includes cutting the pinata hole.
But it appears I was wrong because “How do I make the hole for the candy” is the most asked question on all my “how to make a pinata” videos
So today, I’m here to share the answer and hopefully save a few of you some trouble!
These instructions are how to cut the pinata candy hole. If you want to learn how to MAKE a pianta, then click link at the bottom of this blog post.
SUPPLIES for pinata candy hole
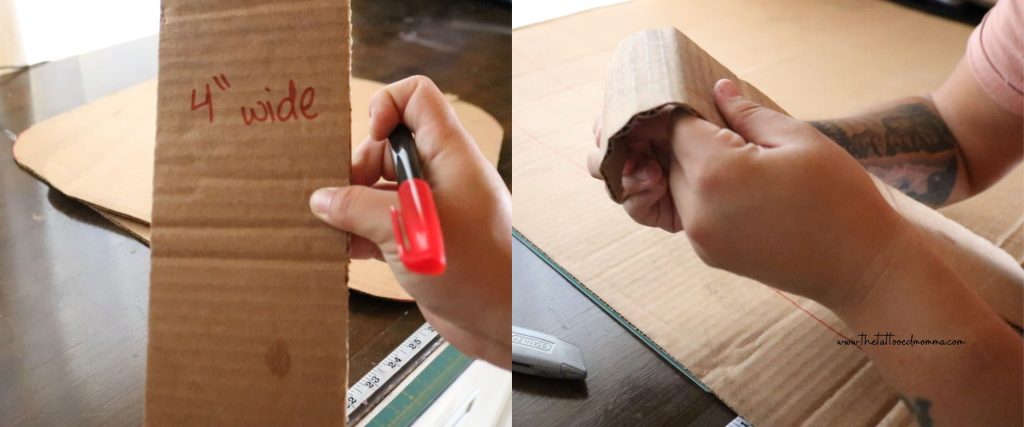
- razor
- finished pinata
Step by Step Instructions
- weak spot
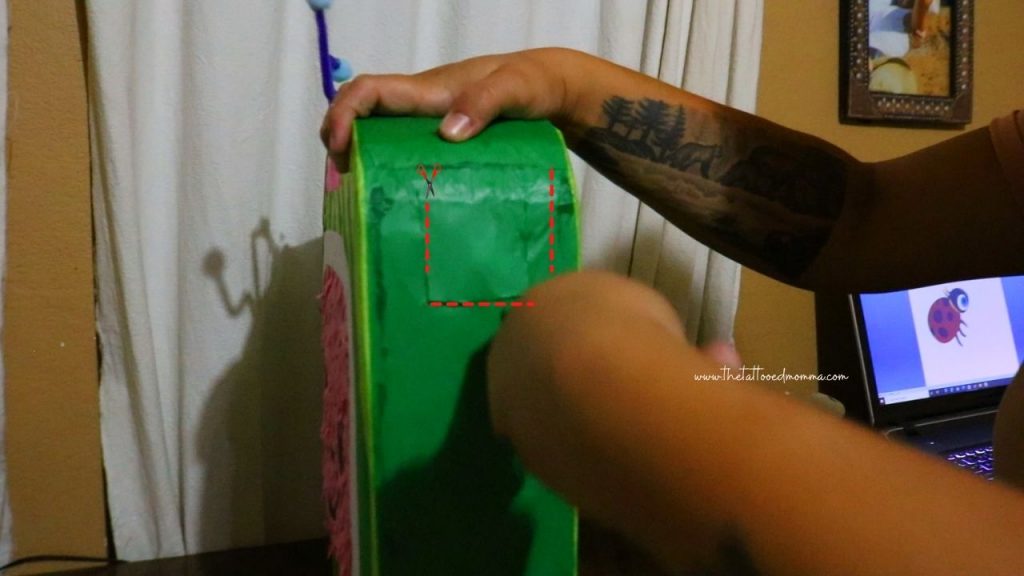
- find a weak spot on the pinata anywhere above where you want the candy to sit.
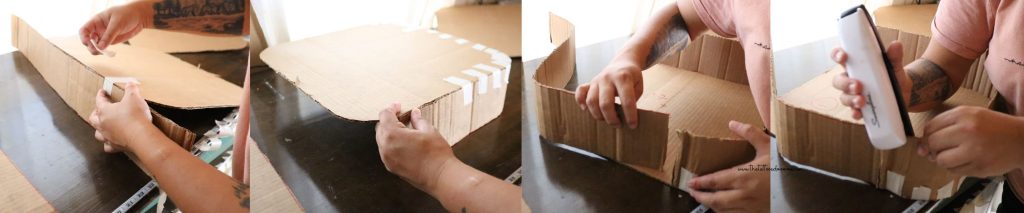
- cut
- using your razor, cut 3 sides of a square to create a flap that opens and closes
TIP 1: don’t make the hole anywhere below where the candy will sit.
TIP 2: don’t make the hole on top of the pinata because you will weaken the pinata where the rope sits.
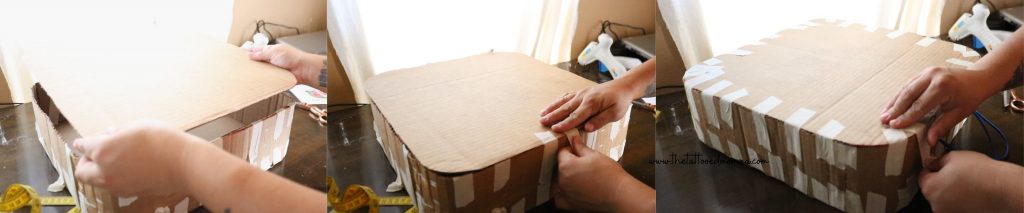
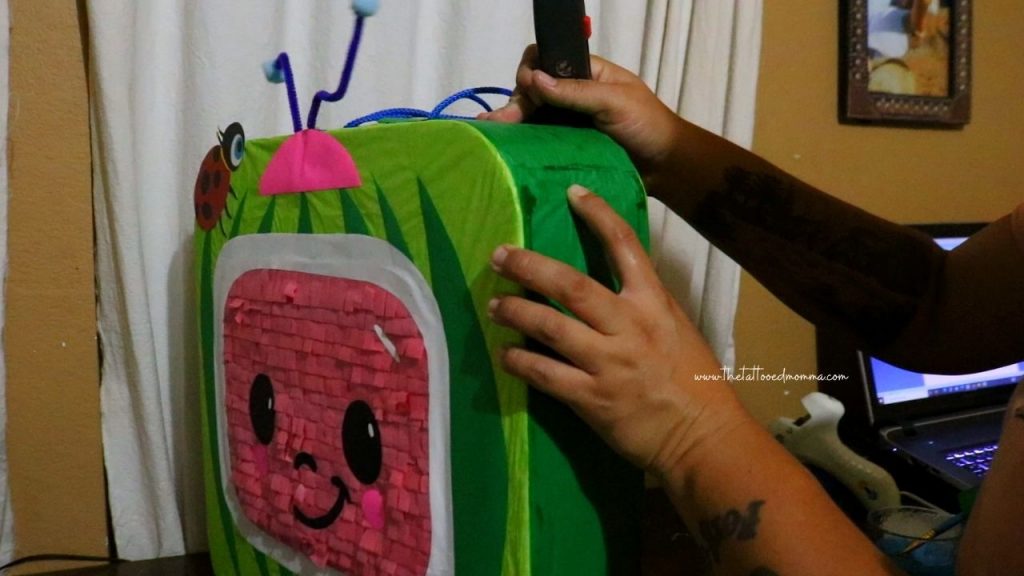
- fill with candy
- fill pinata with candy and that’s it. ITS REALLY THAT EASY!

Click the video below for a quick video guide.
to be inspired daily, follow me on instagram
Brand new to The Tattooed Momma? Click below for my most popular posts/videos.